
This post may contain affiliate links which means I may receive a commission for purchases made through links. I only recommend products that I have personally used. As an Amazon Associate I earn from qualifying purchases. Learn more on my Private Policy page.

After harvesting dill from your garden, it’s important to know how to preserve it for your future cooking endeavors. If you’re wondering if you can freeze dill to preserve it, you’ve come to the right place.
Freezing dill is a great way to retain dill’s flavor and aroma. Though it won’t be as crisp as fresh dill, it’s perfect for cooking. Freezing dill preserves more flavor than drying it, although drying extends its shelf-life. Freezing methods include blanching and freezing leaves or freezing dill in ice cube trays.
Keep reading to learn three different methods for freezing dill, and whether or not it’s better to freeze or to dry dill for preservation.
Table of Contents
Dill Benefits from Freezing More Than Many Other Herbs
Freezing is a great way to preserve dill, as freezing maintains its vibrant color and preserves its distinctive taste better than other preservation methods.
Tender herbs like dill typically benefit far more from freezing than some of the hardier herbs like thyme and rosemary. To learn more about the benefits of freezing tender herbs, read my article about the 6 Best Herbs to Freeze & Ways to Freeze Them.
Blanch and Freeze Dill Leaves: Step-by-Step Guide
Blanching herbs, particularly tender herbs such as dill, basil, and parsley, helps preserve these herbs’ flavor and aroma when freezing. When you blanch herbs, you’re essentially putting a stop to the enzymes that can cause the flavors to degrade over time.
To blanch and freeze your dill, follow these steps:
1) Bring a Pot of Water to a Boil
Bring a medium-sized pot of water to boil to prepare for blanching your dill leaves.
2) Wash Off Your Fresh Dill
While the water is coming up to a boil, wash off your dill stems to remove any dirt, debris, or insects.
If desired, you can pre-chop your dill before blanching, but I find it makes a bit of a mess when using this method, so I prefer to chop my dill when I need it after it’s frozen.

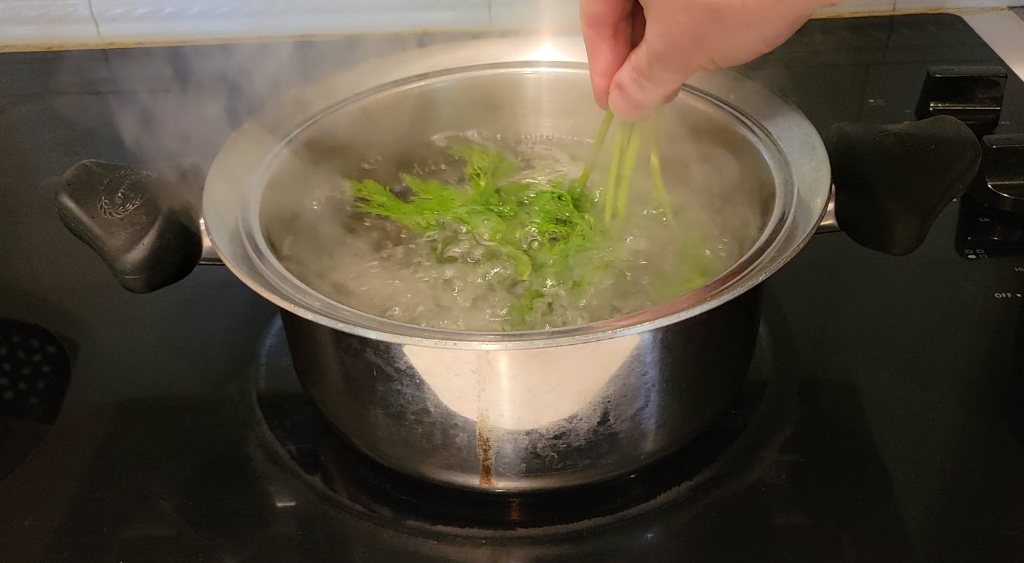
3) Blanch Dill for 10-20 Seconds
Submerge the dill in the boiling water for between 10 and 20 seconds to blanch it. You should remove it immediately as soon as the dill starts to change color. The goal is to inactivate the enzyme in the dill, not to cook it.
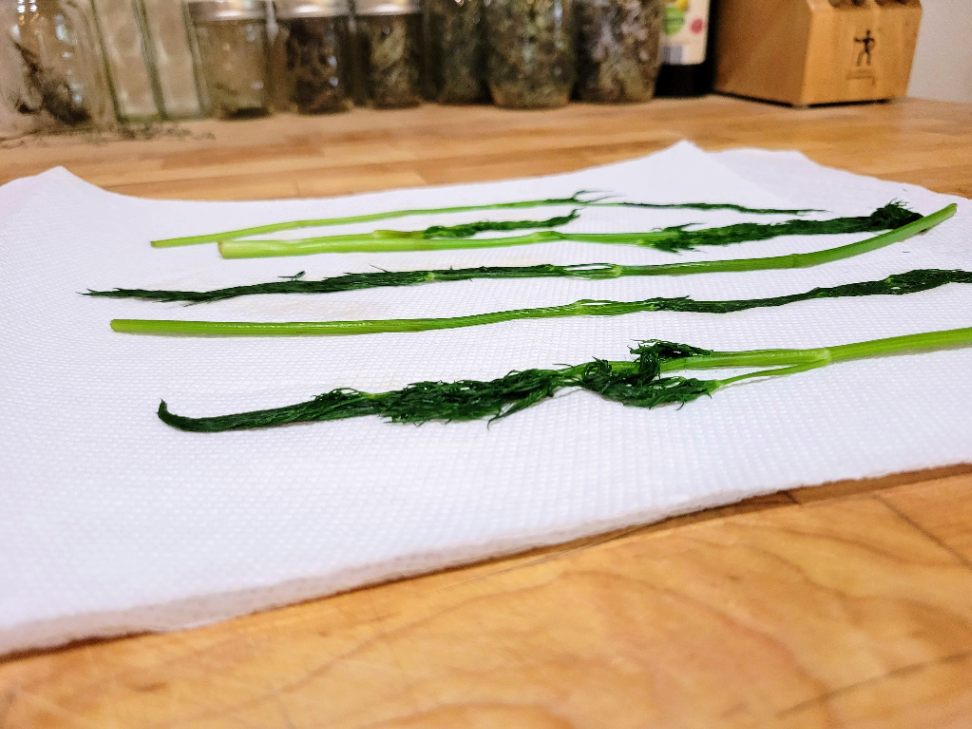
4) Let Dill Leaves Dry Completely
Pat the blanched dill dry with paper towels to remove any excess moisture, or alternatively use a salad spinner. Then, leave your dill out to dry, making sure it’s dried off completely before proceeding. It’s important that no excess moisture remains when freezing, as it can cause ice crystals to form which will make the dill mushy.
5) Remove Dill Leaves from Stems
Once the dill has dried out completely, remove the leaves from the stems to ensure even freezing. It’s also easier to remove the leaves from the stems before freezing than after.
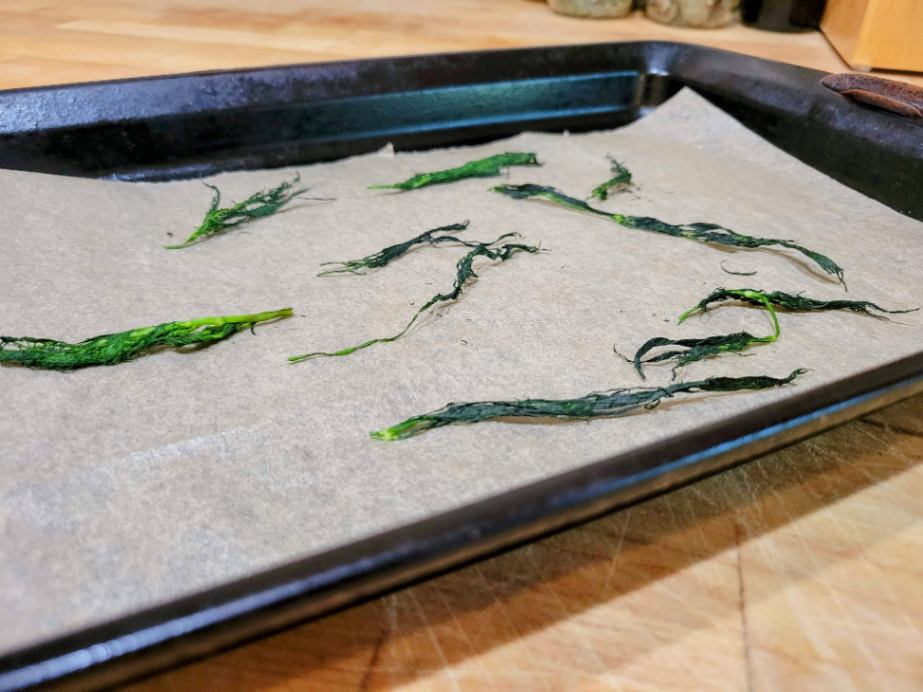
6) Lay Dill Leaves Out on a Baking Sheet
Arrange your dill leaves out on a baking sheet. You can lay them on parchment paper if desired. Ensure that the dill leaves are distributed evenly and do not overlap.
7) Freeze Dill for 60-90 Minutes
Place the baking sheet with the dill leaves into your freezer. Freezing your herbs for 60-90 minutes should be sufficient if you use a chest freezer or deep freezer. Smaller home freezers may require longer freezing times. In any case, don’t let the dill freeze overnight, as you don’t want to freezer-burn your dill leaves before storing them in bags.

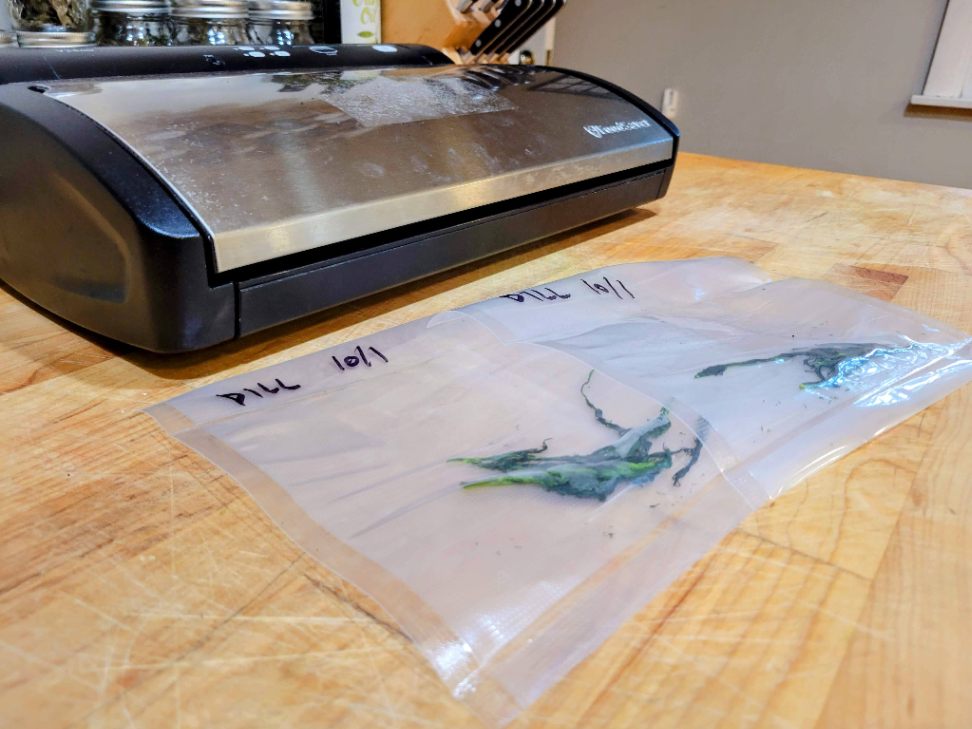
8) Store Frozen Dill in Freezer Bags or Vacuum Sealed Bags
Remove your frozen dill leaves from the freezer and pack them for long-term storage. You can put them in freezer bags or vacuum seal them. Try to remove as much air as possible to prevent freezer burn. Make sure to label and date your freezer bags.
When properly stored, blanched dill leaves will last 8 to 12 months in the freezer. For best quality, it should be used in the first 4-6 months, as flavor will deteriorate afterward.
9) Use Frozen Dill When Cooking
Now that you have a supply of dill that you can use after the growing season has ended, you can use it in a variety of culinary applications. Just pull out a few frozen dill leaves, chop them up (frozen dill leaves chop surprisingly easily!), and use them in any number of dishes. Here are some ideas to get you started:
- Soups and Stews: Add frozen dill to soups, stews, and broths near the end of cooking to add a vibrant dill flavor.
- Sauces and Dips: Incorporate frozen dill into sauces, such as a creamy dill sauce for fish or tzatziki sauce for Mediterranean dishes.
- Marinades: Mix frozen dill with other seasonings and oils to create a marinade for chicken, fish, or vegetables.
- Eggs: Toss some frozen dill into scrambled eggs or omelets for a burst of freshness.
How to Chop and Vacuum Seal Dill for Freezing
This method is somewhat similar to the process outlined above but does not involve blanching. I have found that blanching finely chopped herbs tends to make a bit of a mess. You can still choose to do so, but I’d suggest blanching your dill prior to chopping, leaving enough time for it to dry out before doing so.
Note that non-blanched herbs will have a shorter shelf-life than blanched herbs when it comes to preservation of quality. When using the method below, I’d recommend using your frozen dill within 3 or 4 months for the best flavor.
1) Wash and Dry Your Dill
After harvesting your fresh dill, make sure to wash it carefully to get rid of any dirt or debris. Then, use paper towels to pat the dill dry, ensuring you remove as much excess moisture as you can.

2) Remove Dill Leaves from Stems
Take the dill leaves off the stems, and discard the stems.
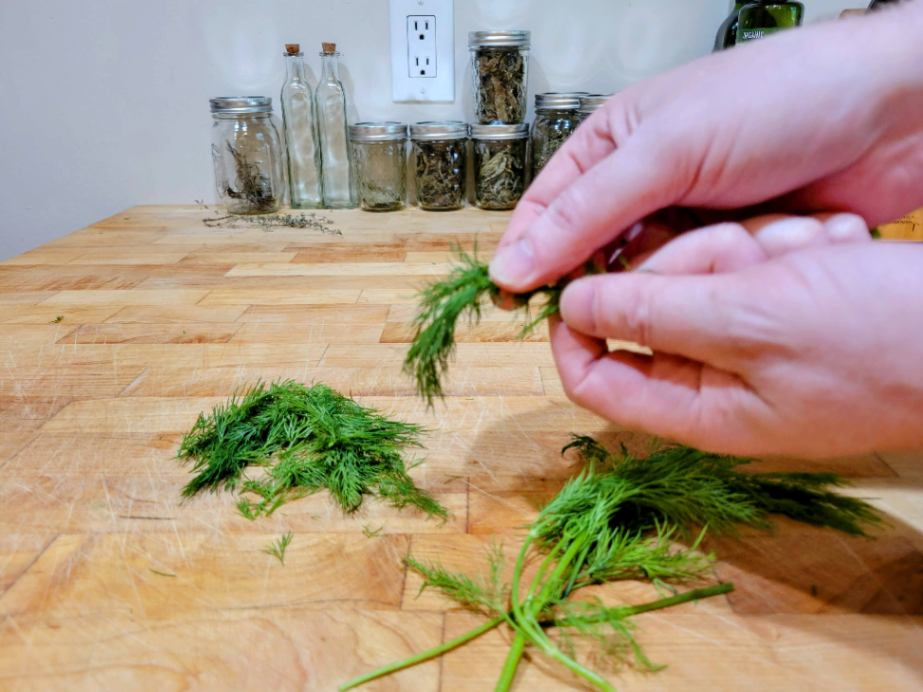
3) Finely Chop Dill Leaves
Take your dill leaves and finely chop them to the size you plan to use in your cooking.

4) Freeze Chopped Dill
Spread the chopped dill onto a plate or a baking sheet lined with parchment paper, ensuring it is evenly distributed. Place the dill in a freezer for about 2 hours until the dill is frozen.

5) Vacuum Seal Dill into Freezer Bags
Remove the frozen, diced dill from the freezer. Pack it into vacuum-sealed bags, portioned to match the amount you plan to use in your recipes. Seal up the bags with your vacuum sealer.
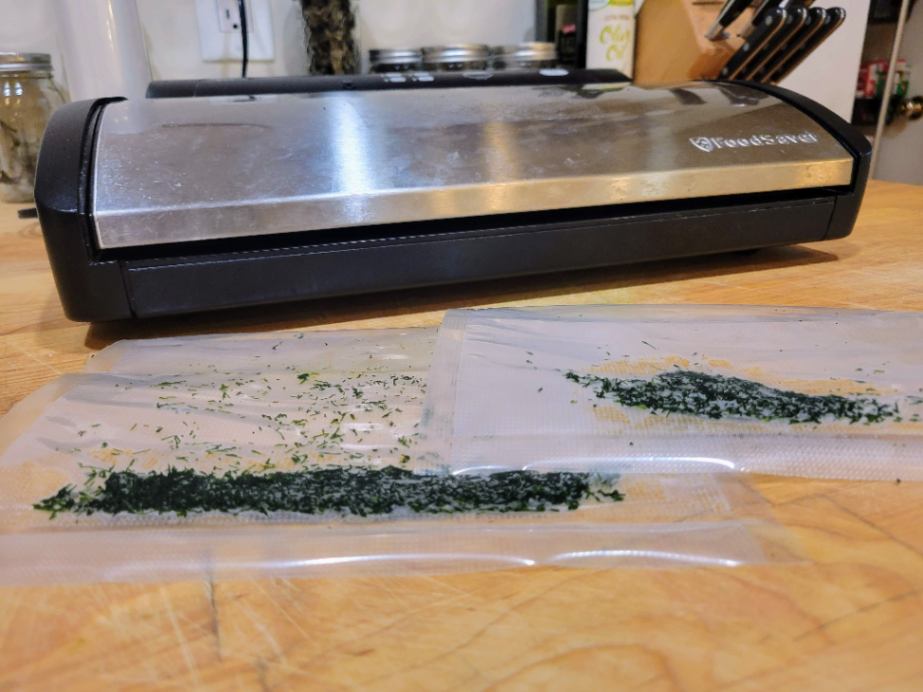
I cannot overstate how useful vacuum sealers are when it comes to extending food shelf-life. In my kitchen, I find my FoodSaver sealing machine invaluable. You can check out some affordable vacuum sealer models using the links below:
If you don’t have a vacuum sealer on hand, freezer bags are a viable alternative for storing your chopped-up dill. Just do your best to remove as much excess air as possible before sealing.
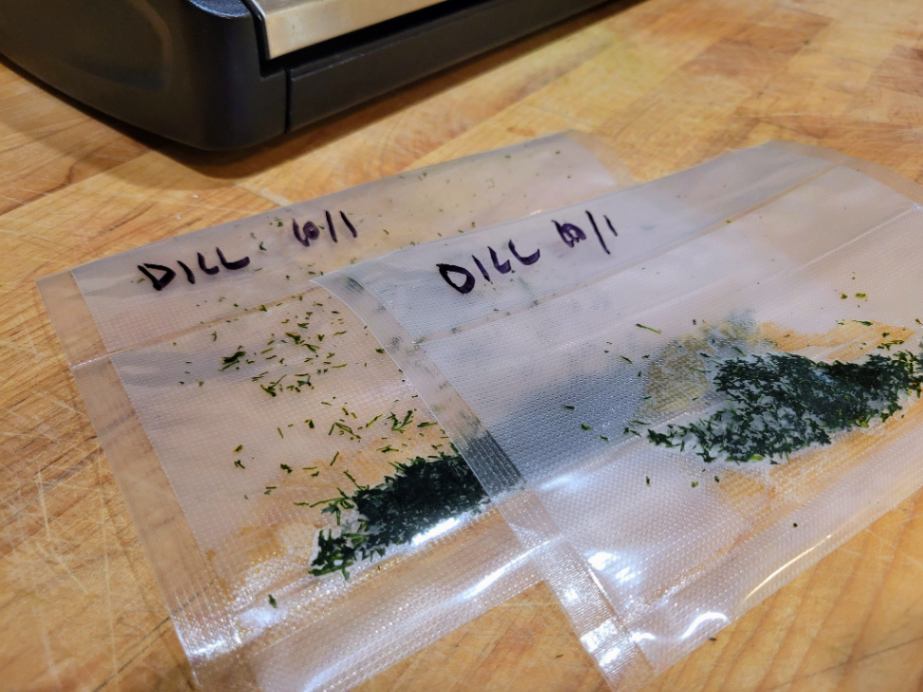
6) Label and Date Freezer Bags for Storage
Always label and date your herbs before putting them in the freezer to ensure you know what you are freezing and when you are freezing it. Place your chopped dill in the freezer for storage. Non-blanched frozen dill should ideally be used within 3-4 months to ensure the best quality for cooking.
Freezing Dill in Ice Cube Trays
Another option for freezing dill is to freeze it with oil or water in ice cube trays. Delicate herbs such as dill, basil, cilantro, and parsley do particularly well using this method.
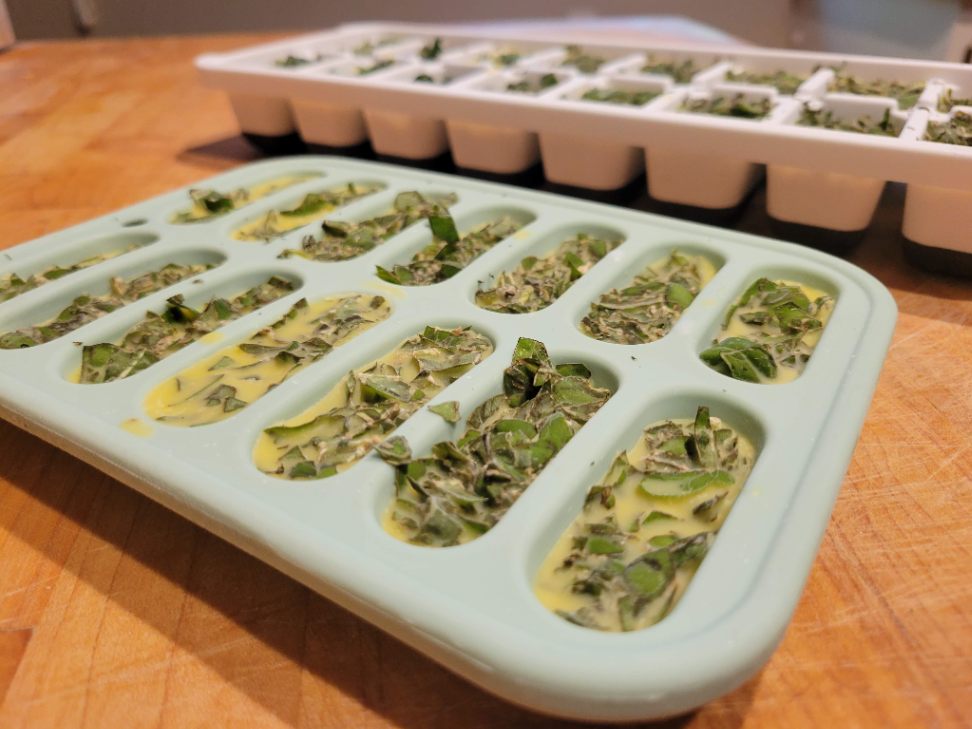
For step-by-step instructions on how to freeze dill in ice cube trays, see my article on How to Freeze Herbs in Ice Cube Trays and discover if it’s better to freeze herbs in oil or water.
Is Freezing or Drying Dill Better?
Freezing dill is ideal for retaining its fresh flavor, aroma, and vibrant green color, making it convenient for recipes requiring fresh dill when none is available. On the other hand, drying dill offers a longer shelf life and greater versatility when the texture of fresh dill is not essential.
Combining both methods can suit different culinary needs. To determine whether freezing or drying dill is better for your needs, consider the following…
| Aspect | Freezing Dill | Drying Dill |
|---|---|---|
| Flavor and Aroma | Retains fresh flavor and aroma better | May lose some flavor and aroma |
| Color Retention | Preserves vibrant green color | May result in faded color |
| Texture | Retains better texture | Texture becomes brittle |
| Shelf Life | Shorter shelf life (several months) | Longer shelf life (1-2 years) |
| Space-Saving | Takes up freezer space | Requires less storage space |
| Ice Crystals | Risk of ice crystals affecting texture | N/A |
Conclusion
Freezing dill is a highly effective method for preserving its flavor, aroma, and vibrant color. Dill benefits tremendously from freezing compared to hardier herbs like thyme and rosemary. Freezing dill not only helps maintain its quality but also ensures it’s readily available for your cooking endeavors when the growing season has ended.
To learn about other ways to harvest and preserve dill, check out my article on Harvesting Dill: Proven Techniques to Preserve Freshness.
Last Updated on 13 October 2023 by Bob Lee